The neck is by far one of the most important elements of your guitar. That’s where all the action happens, and even the slightest issue with it can completely change the way your guitar sounds and feels.
In extreme cases, it can render your instrument useless. This is why you always check the neck first when you’re buying a guitar. If the neck is not flat, the rest of the instrument really doesn’t matter that much. You pat that thing down and move on.
Today we’ll talk about how the neck of a guitar is constructed, and what you can do to adjust it in a way that will produce a good sound, and good intonation.
Anatomy of a guitar neck
There are several types of guitar neck designs out there, but one thing they all have in common is the wood they’re made of. Usually you will find the neck made of either Maple or Mahogany.
These two types of wood have different sonic properties and different levels of rigidity. Nowadays, almost every single guitar has a truss rod that goes through the neck serving as a reinforcement to the wood.

Problem with the wood is that it reacts to the environment. If you leave your guitar in a very damp and humid place, the neck on that guitar will slowly start to warp.
The wood will expand and compress, and the whole thing may twist and bend. If this happens it’s pretty much game over. That’s why it’s paramount that you take care of where you store your instruments, and how you protect them from outside environment.
The truss rod is there to apply tension the wood of the neck, and ensure that everything stays in place. However, it would be foolish to rely on the truss rod to prevent serious neck deformation on its own.
Adjustment
The truss rod we’ve mentioned comes in two versions that are most commonly found in guitars today. There’s a one-way and a two-way design which allow access from either one end of the neck, or both ends. Truss rod adjustments are necessary when the guitar starts losing its properties, which is inevitable with any guitar.
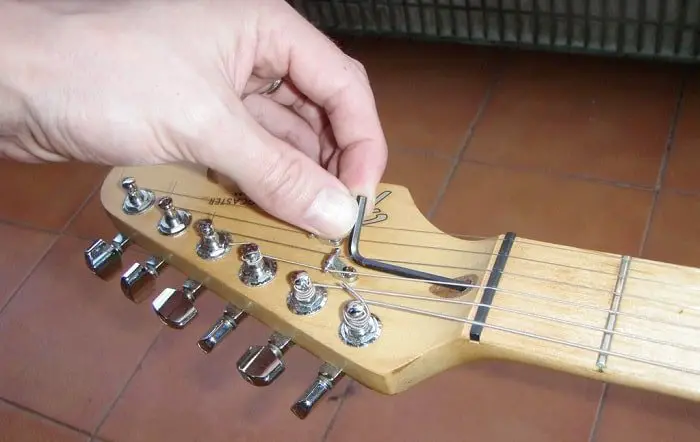
To access the truss rod, you need to remove the plastic (or metal) plate located near the nut on your headstock. Once you do that, you will see exactly what kind of tool you will need. Usually it’s an Allen key, but there are truss rods which require different tools.
Before you start, look down the neck and try to visualize how big of a bend you’re trying to eliminate. Now insert the Allen key into the socket on the truss rod and make sure it’s seated properly. You will turn the key clockwise to increase the tension for a neck whose headstock is under the body, and counter-clockwise for a neck whose headstock sits above the level of the body.
It is extremely important to take things very slow and be very careful. If you go overboard, you can easily snap the truss rod, and you definitely don’t want to do that. So, slight adjustments, only couple of degrees either clockwise or counter-clockwise.
After every adjustment, look down the neck to see if you need to go more. It’s also a good idea to play the guitar a bit, and see how the action sits and if the intonation is improved. Repeat until you’re satisfied with the results.
Just a side note. If you don’t feel comfortable performing these adjustments, it’s better to take the guitar to a shop and let a professional do the job for you.
Conclusion
Guitar neck adjustment is a delicate process which takes time and patience. It’s something that every guitar will require sooner or later, so you might as well learn how to do it on your own. If you’ve never done it before, maybe it’s better to ask someone with more experience to show you how it’s done.
